Tech Writing Sample #1
No code pull request walkthrough
By Taylor Banks
A step-by-step guide to getting your OpenWeather API key and testing your first request using Postman without writing a single line of code.
An Application Programming Interface (API) is a tool that allows two pieces of software to communicate with each other. The client system makes a request to the API, and the API responds by retrieving the requested data and returning it to client.
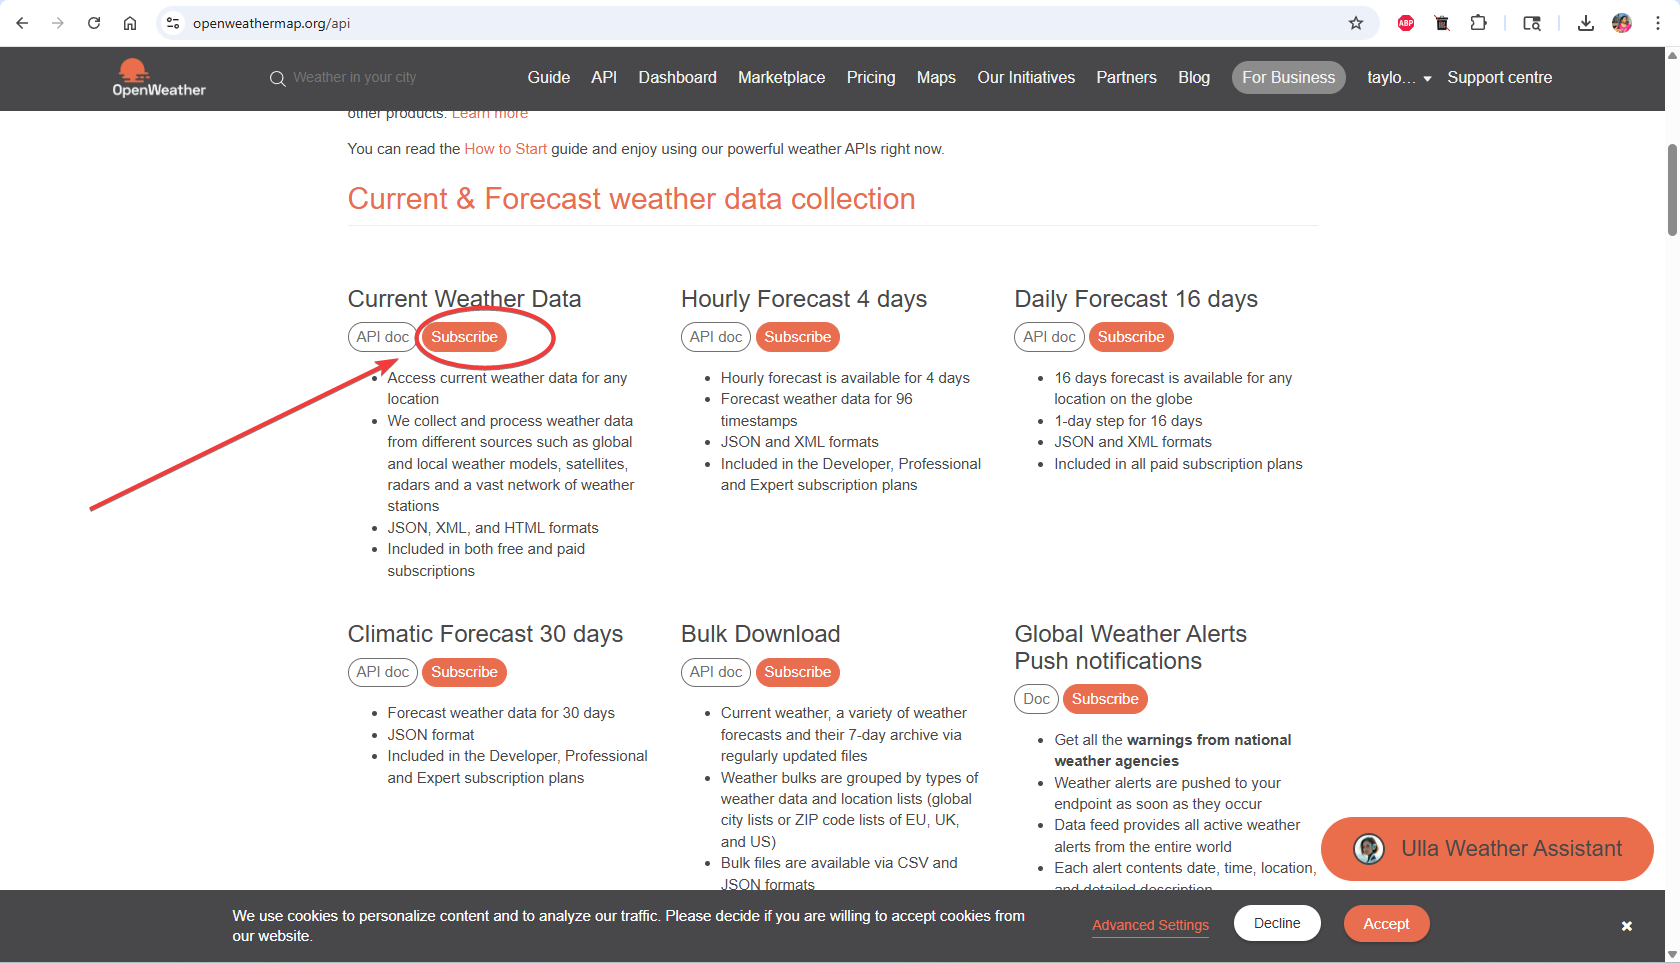
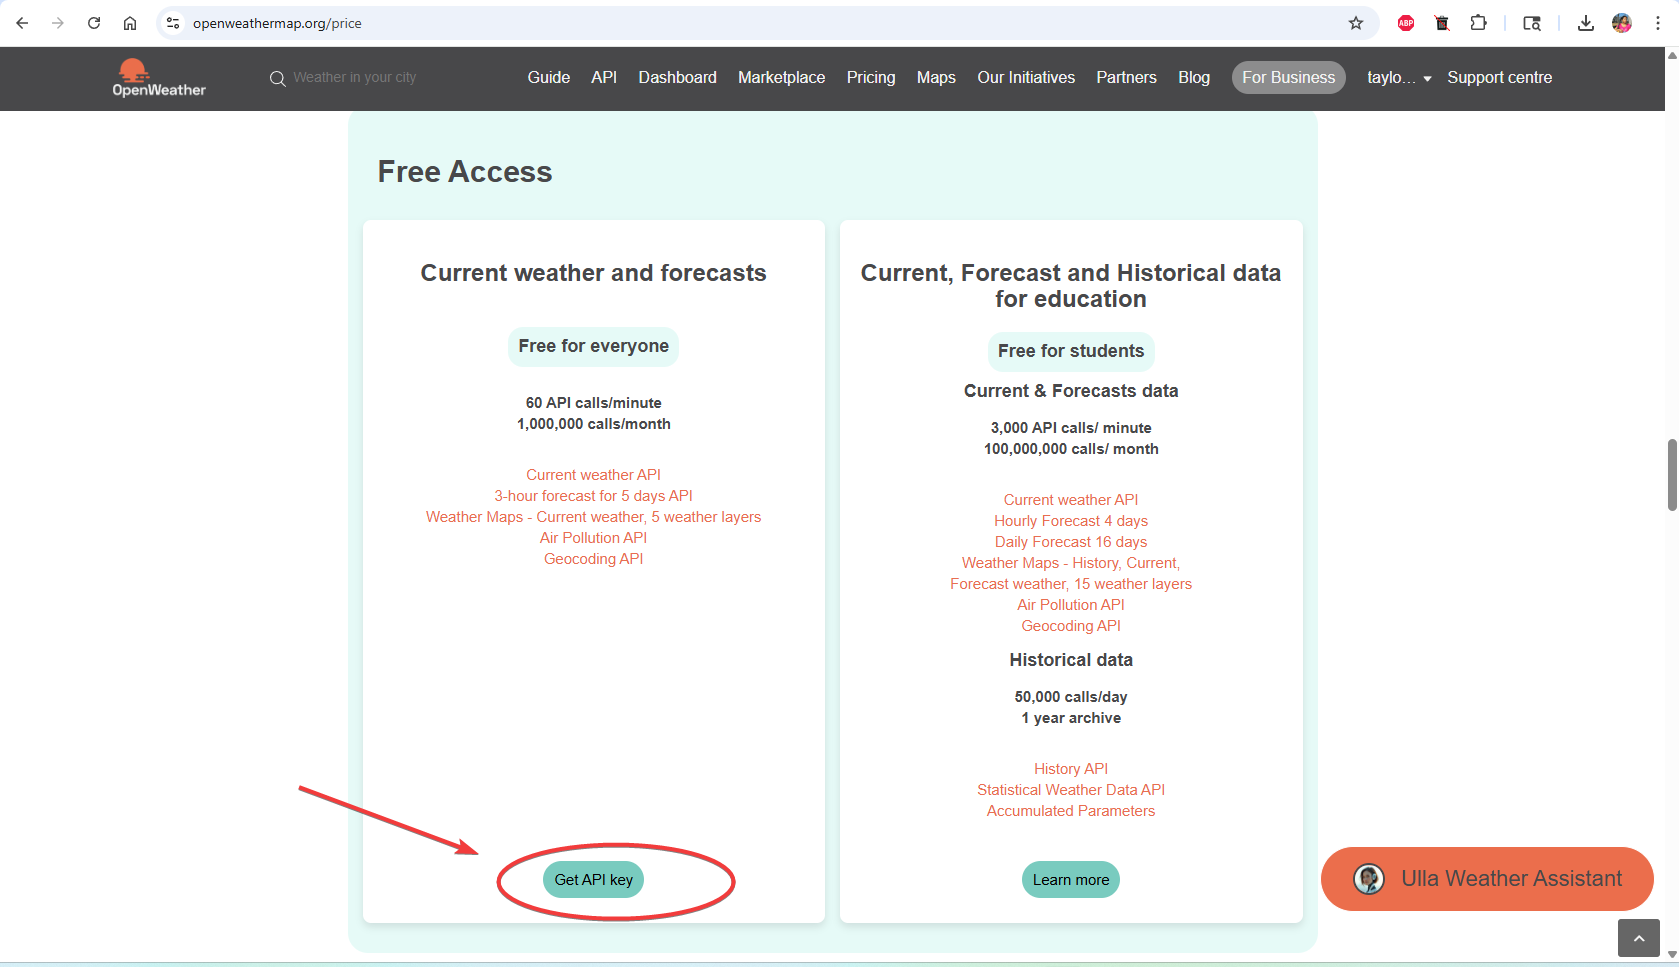
OpenWeather is a free public API that provides weather data from all over the world. It is useful for any software that requires reliable realtime weather data, including:
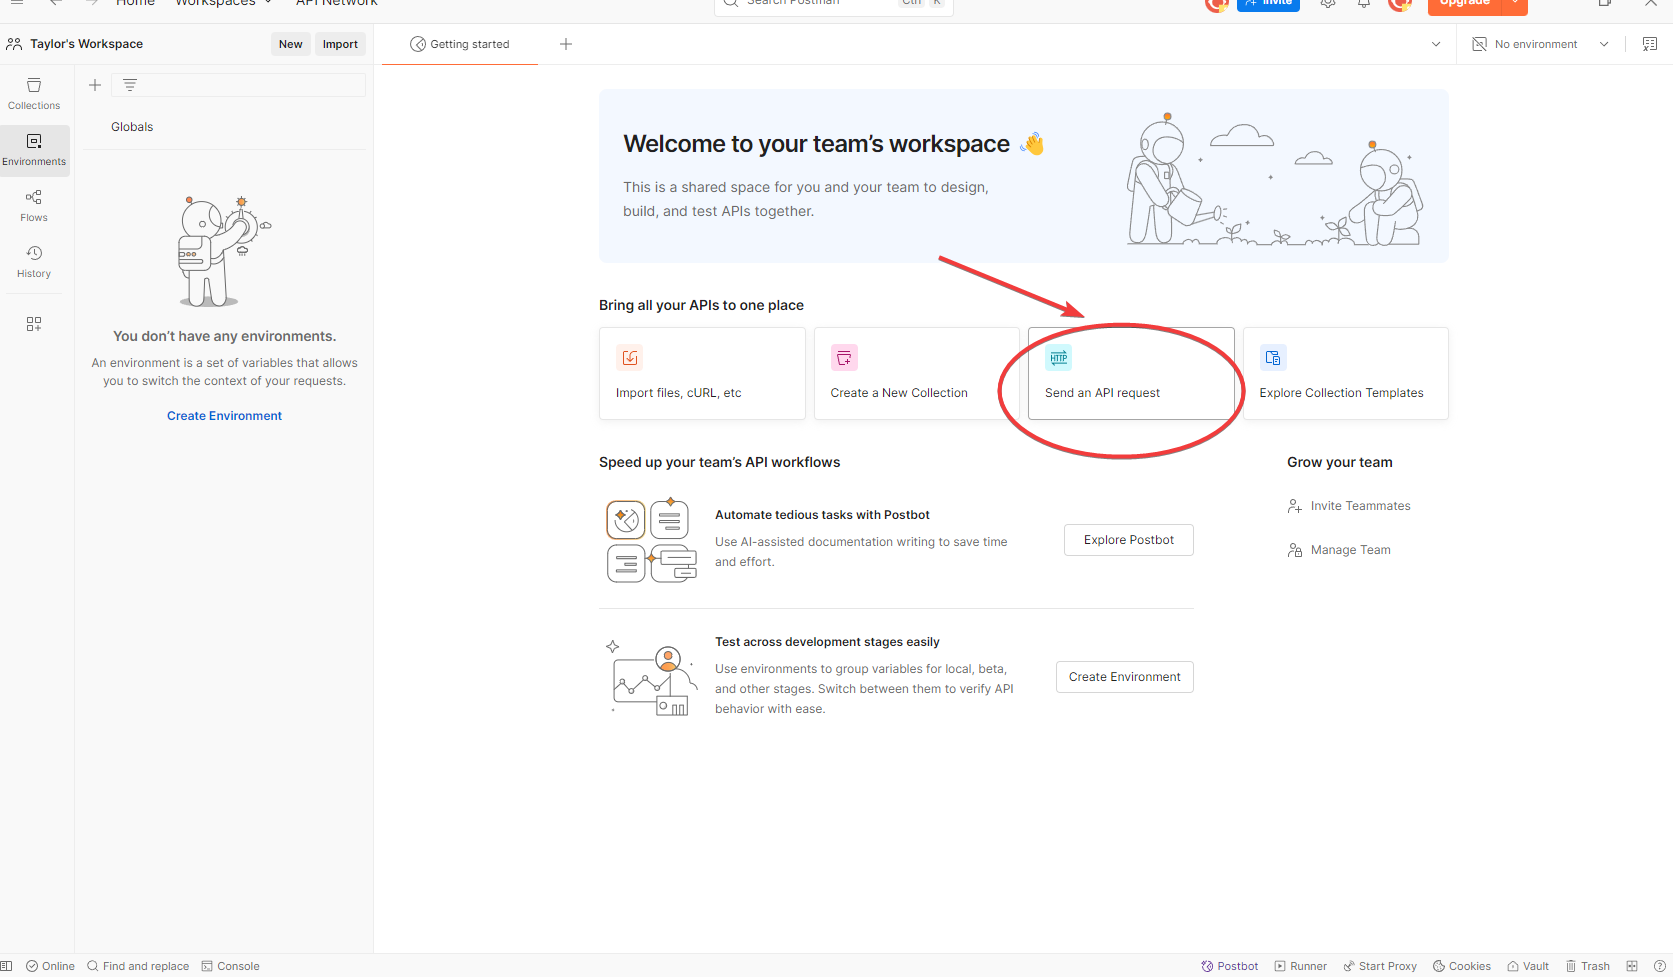
Postman provides a visual interface that will allow us to test OpenWeather directly without writing any code.

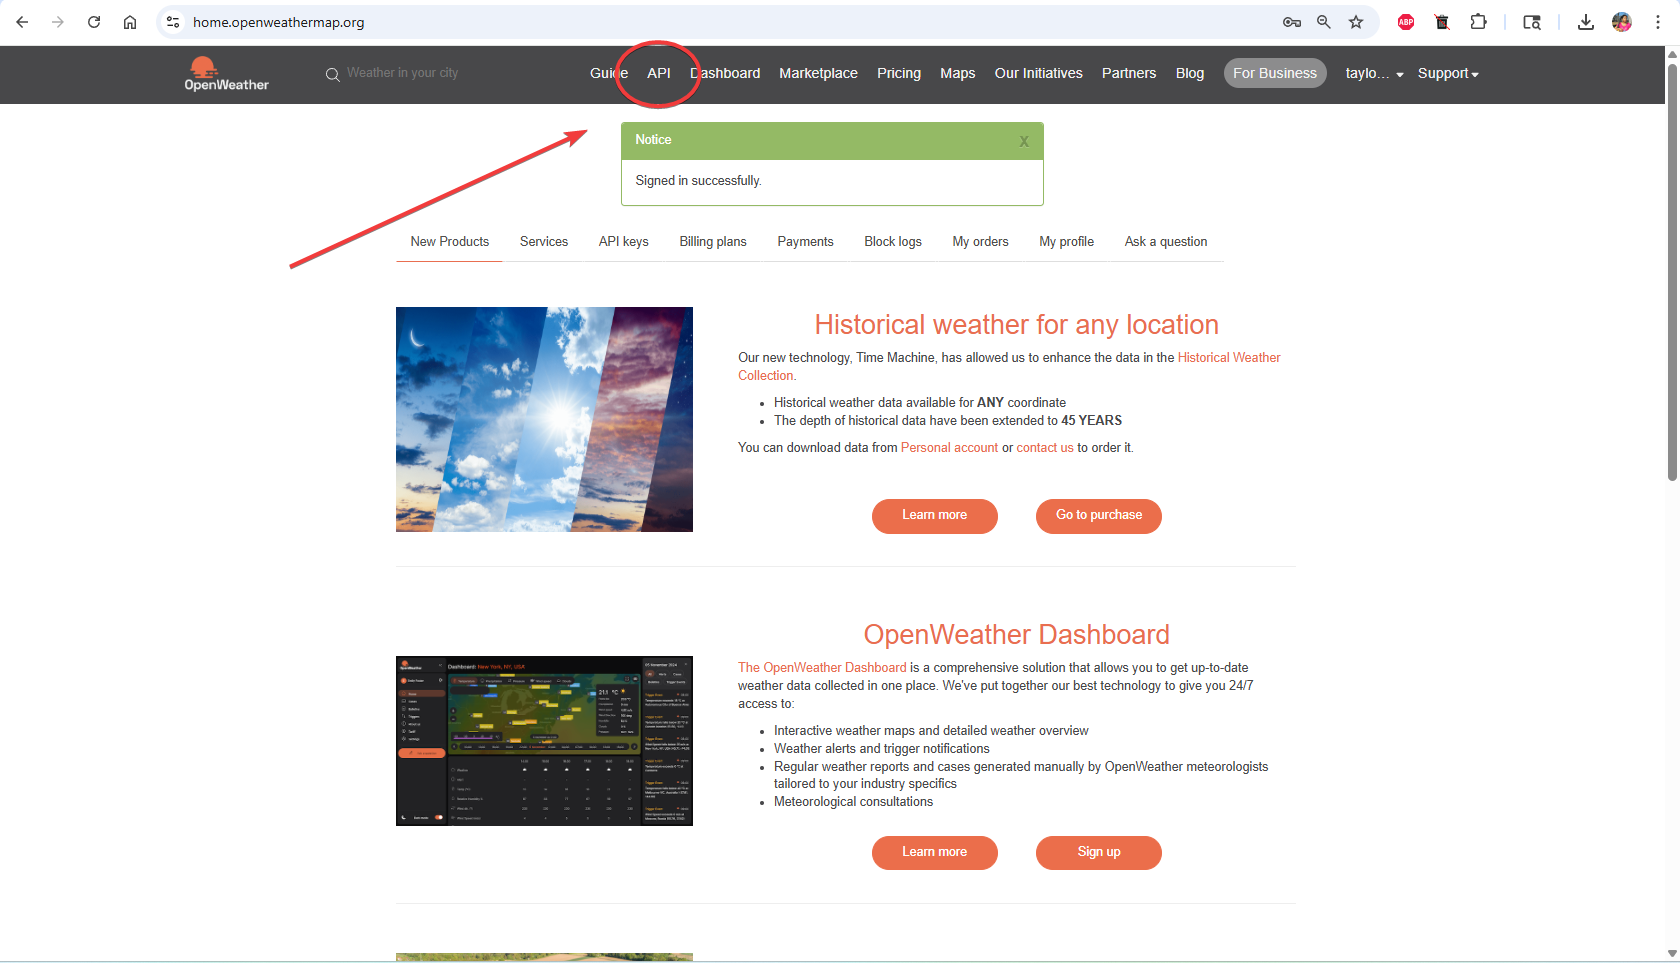
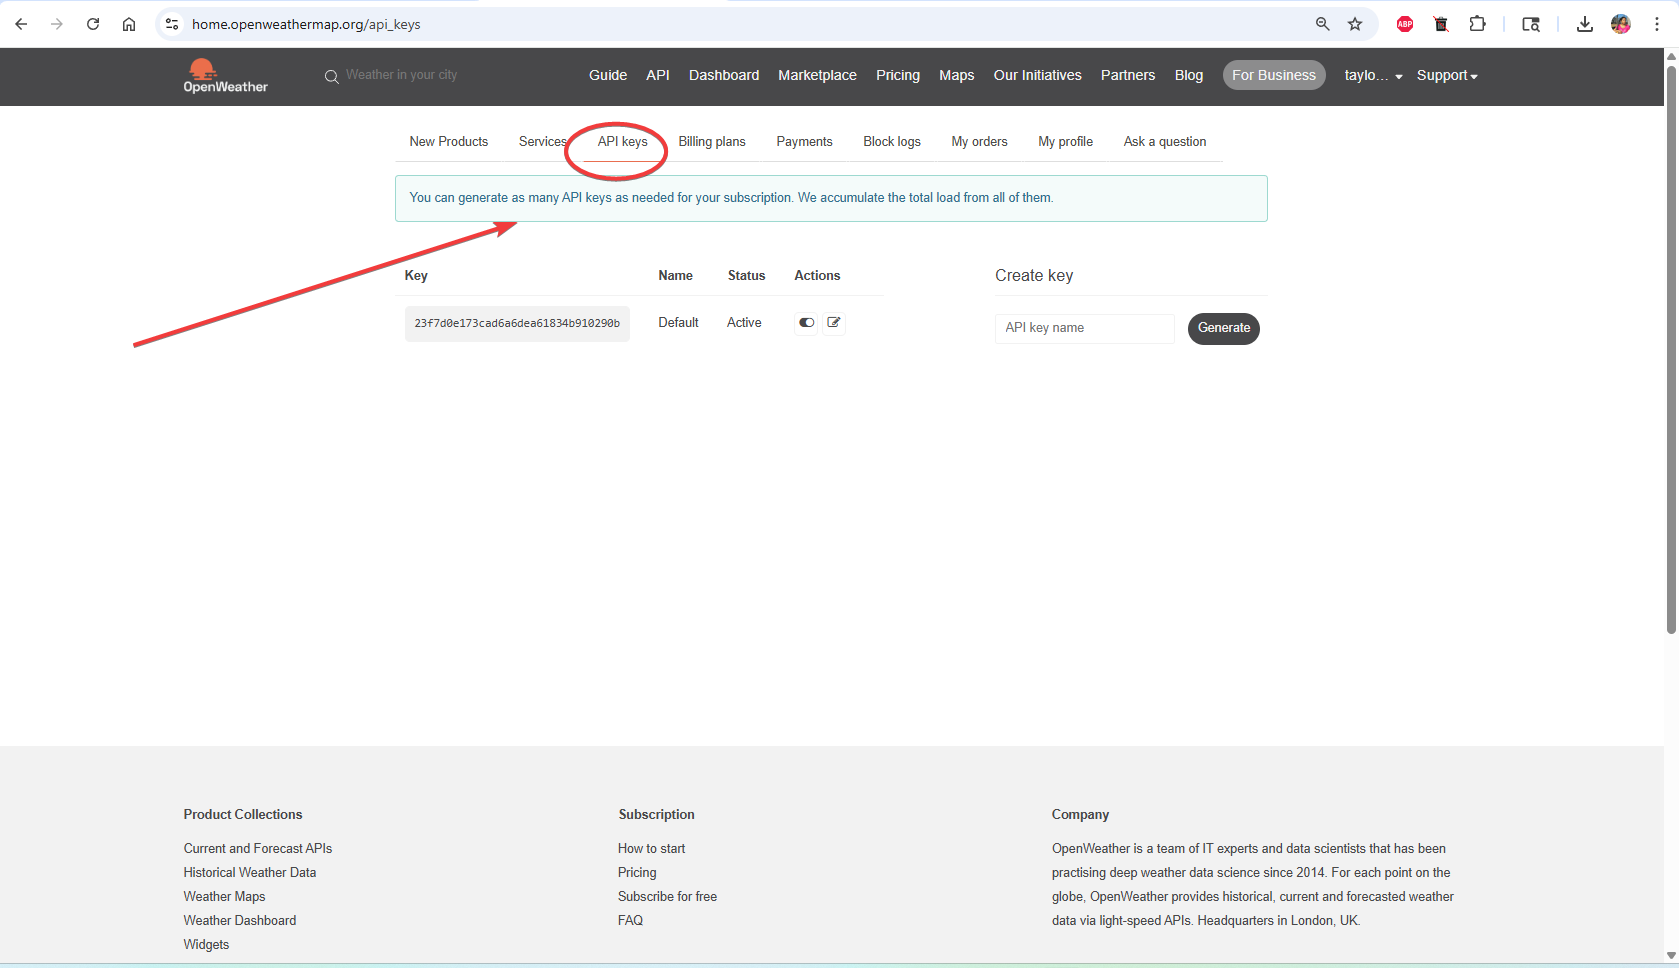
OpenWeather will have generated a default API key. Please wait one to two hours for the key to become active, then proceed to step two.
If you don’t already have Postman, download it here. It’s free and available for all major platforms.


A successful request should produce a response in JSON at the bottom of the page. You will also see “200 OK” highlighted in green in the top right corner of the reponse. If you hover over it, it will say, “Request Successful. The server has responded as required.”
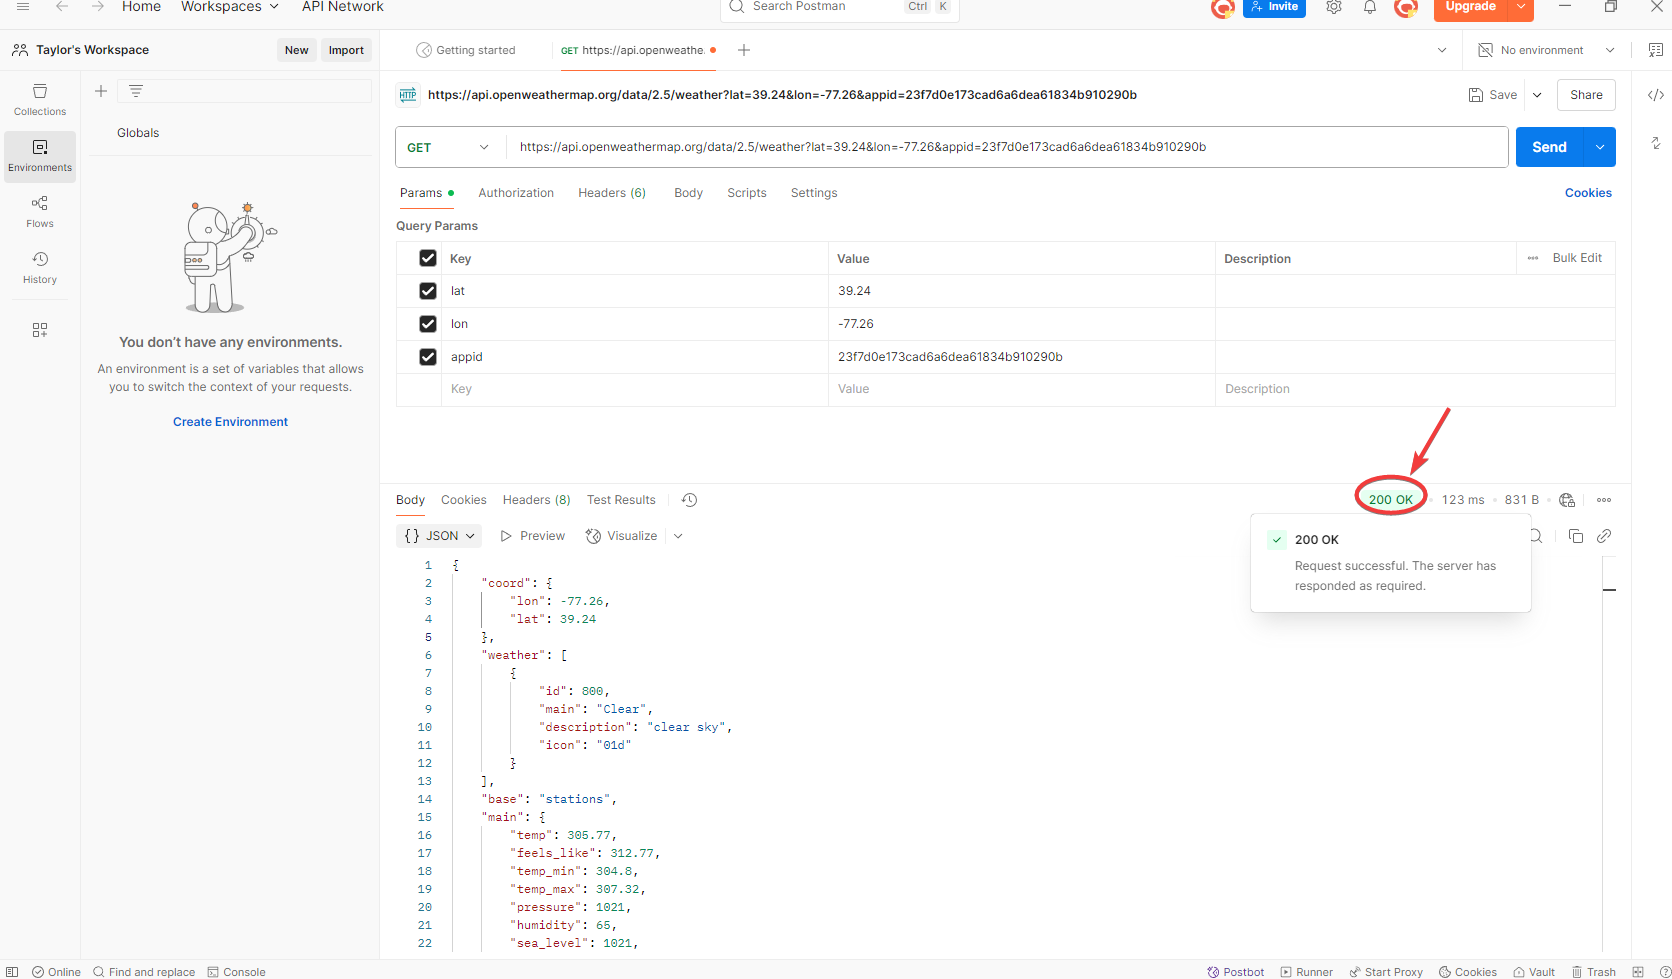
The API will give you a JSON object filled with structured weather data. Here are the most useful parts:
These are the coordinates you provided.
{
   "coord": {
      "lon": 39.24,
      "lat": -77.26
   }
}
This lists a main weather condition (Rain, Clear, Clouds, etc) followed by a more detailed condition in plain English.
"weather": [
        {
            "id": 800,
            "main": "Clear",
            "description": "clear sky",
            "icon": "01d"
        }
    ]
This section holds temperature-related data, such as the minimum and maximum temperatures, humidity and what temperature it actually feels like outside.
 "main": {
        "temp": 305.77,
        "feels_like": 312.77,
        "temp_min": 304.8,
        "temp_max": 307.32,
        "pressure": 1021,
        "humidity": 65,
        "sea_level": 1021,
        "grnd_level": 1005
    }
This tells you the wind direction in meteorological degrees, and the wind speed and gust in meters/second. It also rates the visibility on a scale from 0 to 10,000 meters.
"visibility": 10000,
    "wind": {
        "speed": 0.45,
        "deg": 0,
        "gust": 1.34
    }
This tells you cloudiness as a percentage. If rain or snow are predicted, then it would instead display the expected precipitation in millimeters per hour.
"clouds": {
        "all": 7
    },
This section displays a two letter country code in ISO 3166 format, along with the UNIX timestamps for sunrise and sunset in UTC. You can safely ignore the “type” and “id” fields, which are internal and undocumented.
"sys": {
        "type": 2,
        "id": 2011816,
        "country": "US",
        "sunrise": 1750758218,
        "sunset": 1750811957
    }
These fields give extra metadata: the city name, its timezone offset from UTC, the city’s unique ID in OpenWeather, and a status code confirming the request was successful.
"timezone": -14400,
    "id": 4351708,
    "name": "Clarksburg",
    "cod": 200
| Method | Format | Example |
|---|---|---|
| City Name | q={city name} |
q=London |
| City + State + Country Code | q={city},{state},{country} |
q=Chicago,IL,US |
| City ID | id={city id} |
id=5367929 |
| Zip Code | zip={zip code},{country} |
zip=22642,US |
| Units of Measurement | &units={units} |
&units=metric |
| Language | &lang={lang} |
&lang=arabic |
Note: A list of city IDs can be downloaded here. OpenWeather recommends that you call the API by city ID to get unambiguous results for your city.
Note: A list of supported languages can be found here.
Caution: If requesting by zipcode, the search assumes USA as a default unless country is specified.
If something isn’t working when you test the OpenWeather API in Postman, start here. These are the most common issues beginners run into.
{
  "cod": 401,
  "message": "Invalid API key"
}
Problem:
Solution:
{
  "cod": "404",
  "message": "city not found"
}
Problem:
Solution:
Problem:
Solution:
"sunrise": 1750758218,
"sunset": 1750811957
Problem:
Solution

You just completed this journey—from zero to your first working API request.
You now understand:
🔑 How to get and use an OpenWeather API key
📬 How to send a request to OpenWeather API using Postman
🛠️ How to read the response and spot common errors
If you’re ready to go further, here’s what you can try next:
units=imperial or lang=es to customize the response.This guide was created as part of a technical writing portfolio project. All screenshots were taken as of June 2025.
No code pull request walkthrough
No-code walkthrough for getting OpenWeather data using Postman.
No-code walkthrough for installing VS Code
an SEO optimized sample post
an SEO optimized sample post