Tech Writing Sample #3

Beginner’s Guide to VS Code for Windows

By Taylor Banks
A beginner-focused tutorial for installing Visual Studio Code.


Introduction

What is VS Code?

Visual Studio Code (VS Code) is a free, open-source, lightweight source code editor developed by Microsoft. It supports many programming languages and frameworks, and can be extended through a wide range of extensions for debugging, building, and editing code efficiently.

Who is this guide for?

This guide is for anyone who wants to:

  • Install VS Code on Windows 10 or 11
  • Understand the interface layout
  • Configure common settings and install essential extensions

How to Download and Install VS Code

Step 1: Check System Requirements

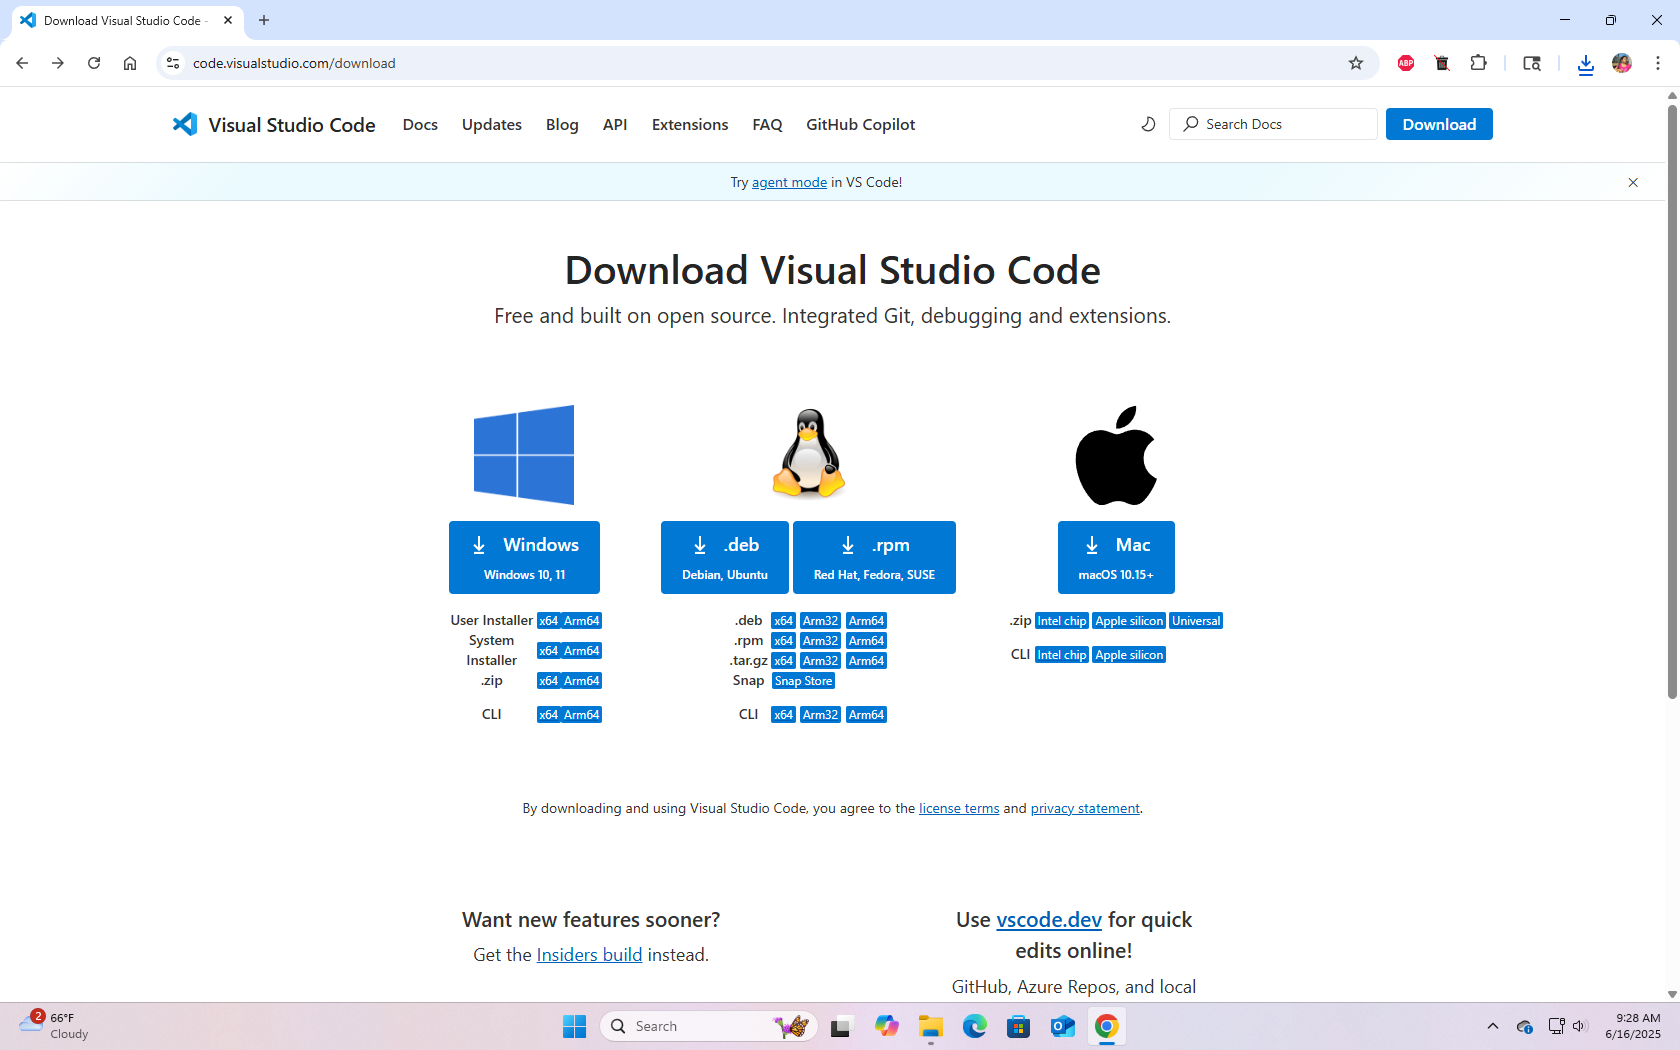
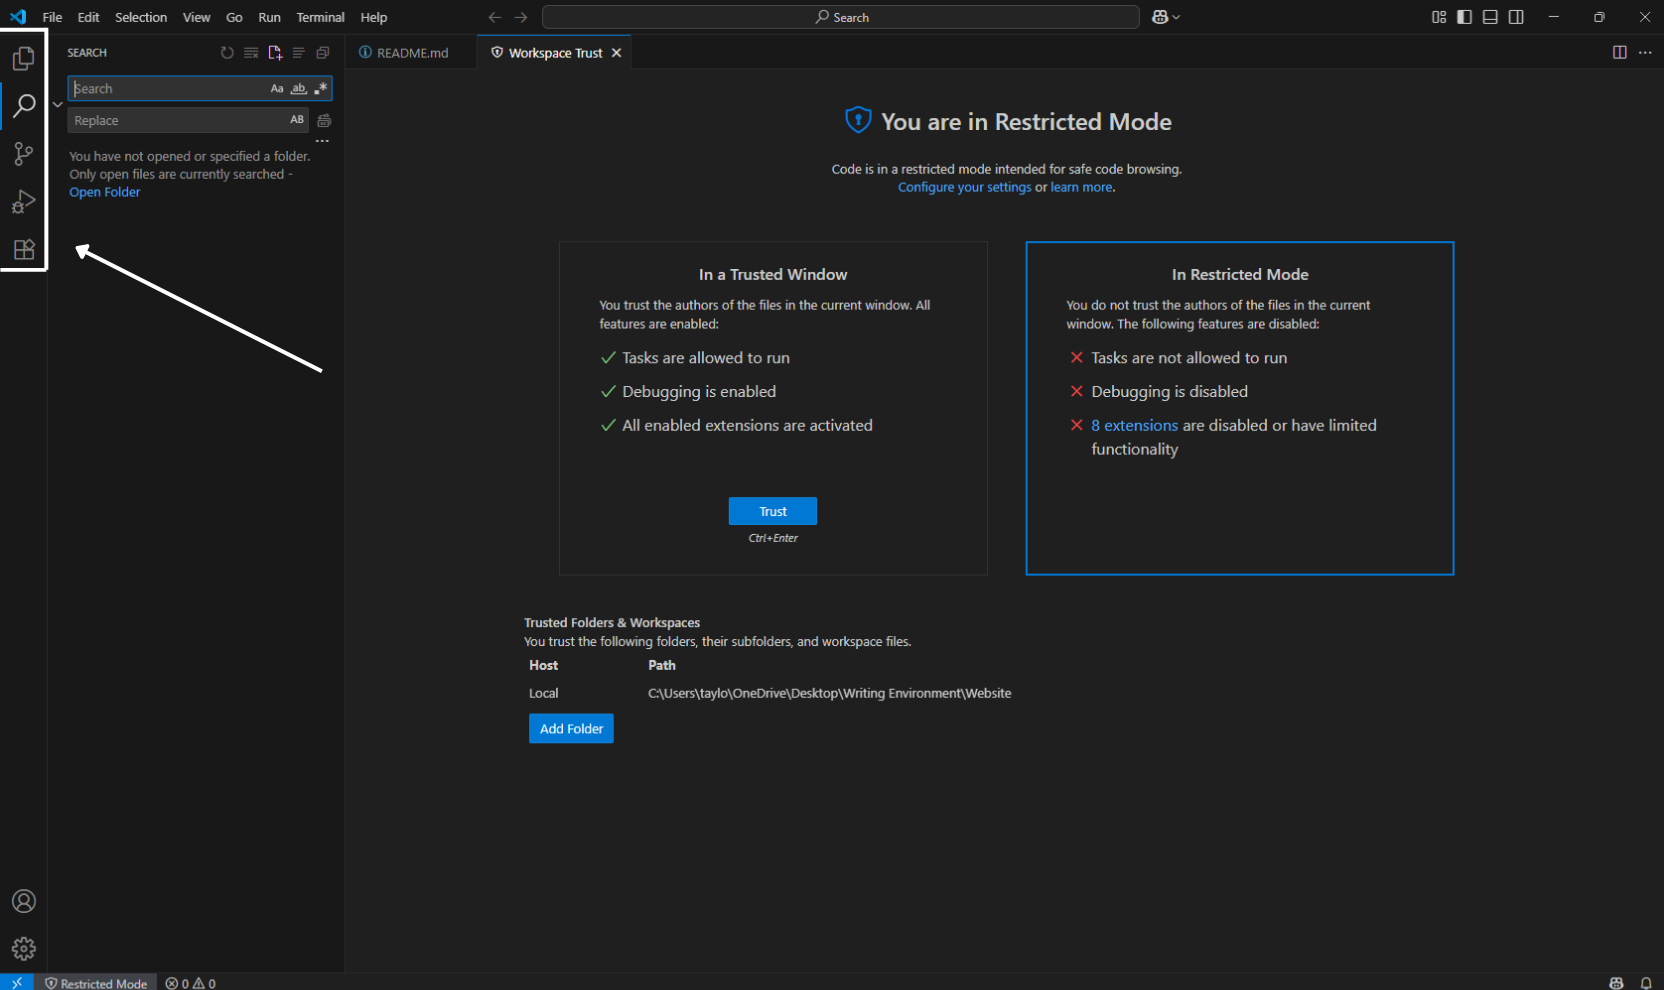
Before downloading, ensure that your hardware meets the requirements.

Step 2: Download VS Code for Windows

  1. Visit the Visual Studio Code download page Download Page
  2. Click Download for Windows.

Step 3: Run the Installer

  1. Open your Downloads folder in File Explorer.
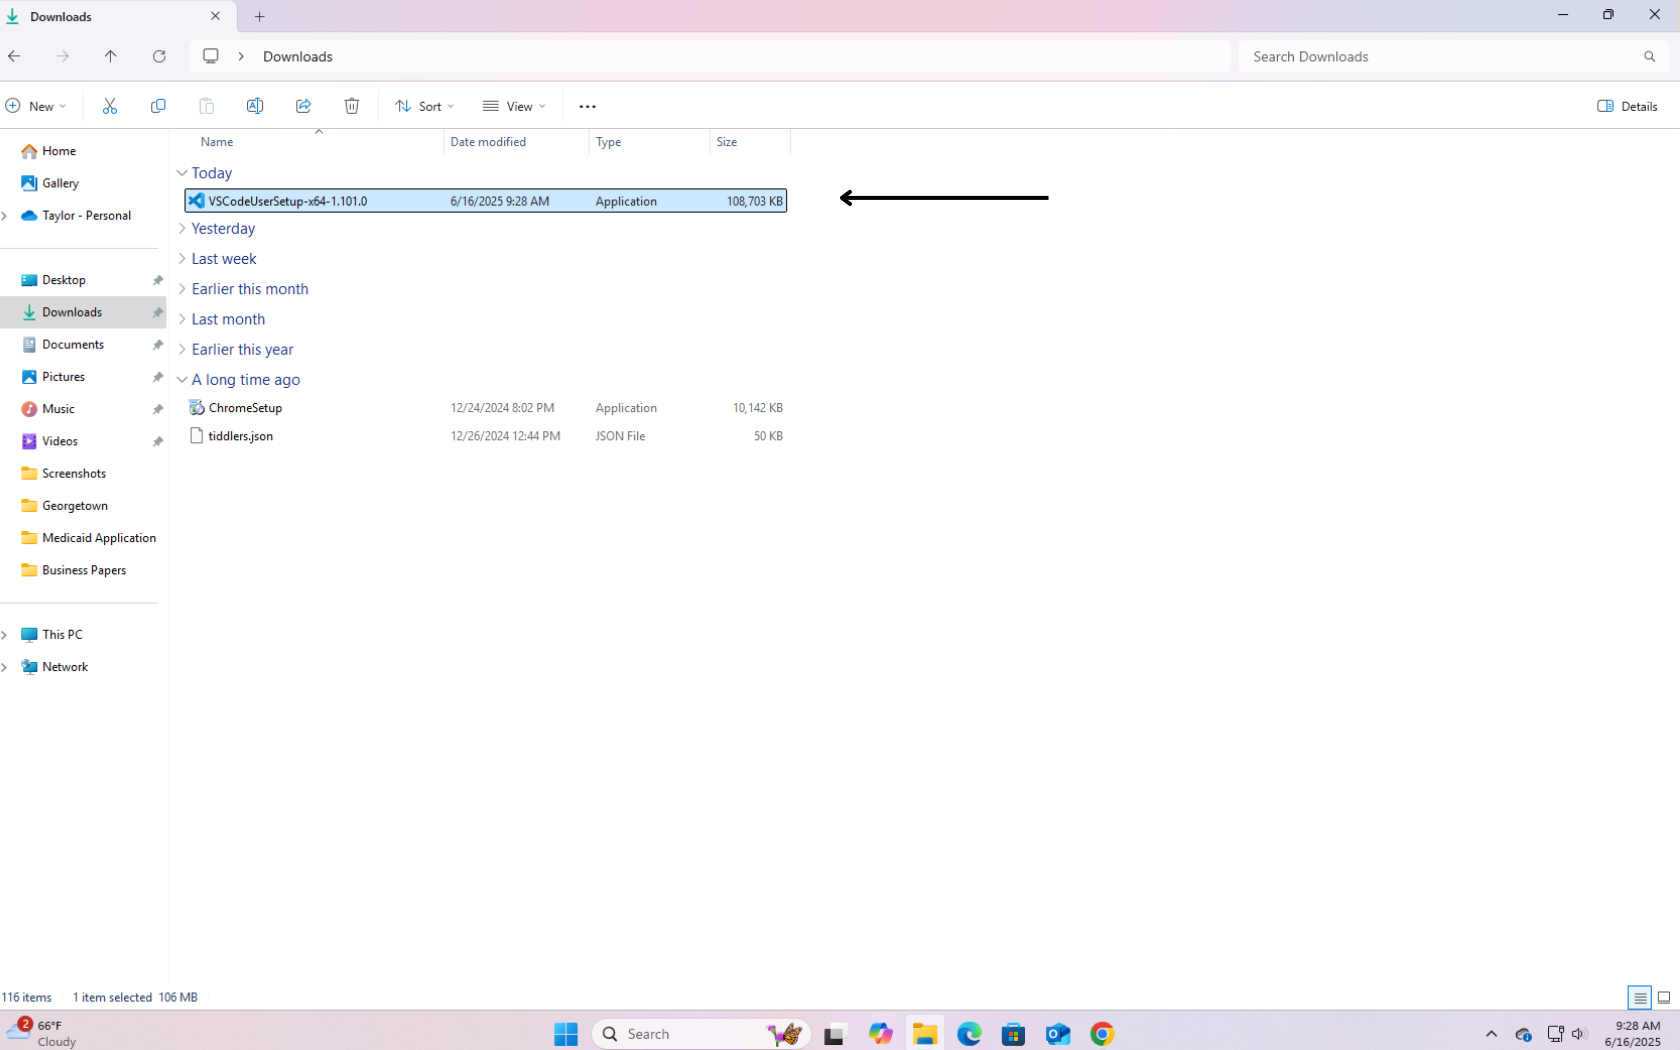
  2. Double-click the VSCodeUserSetup.exe file. File Explorer

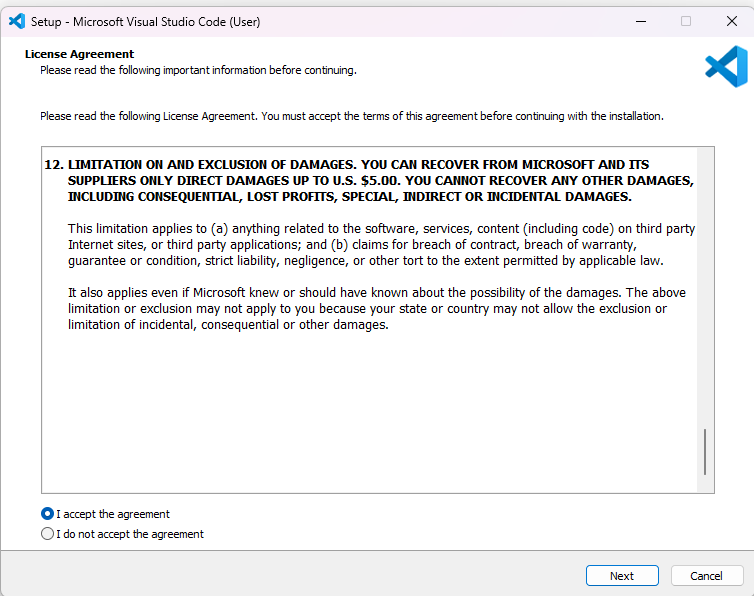
  3. Accept the license agreement. License Agreement

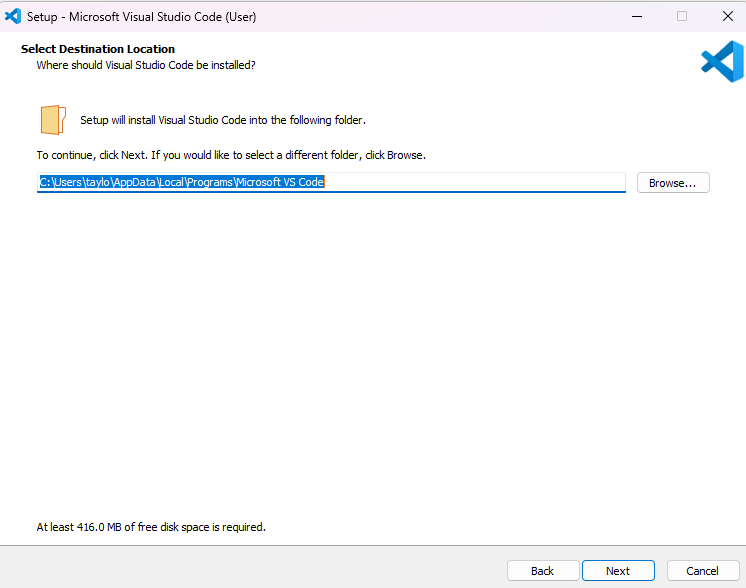
  4. Select an install location. Destination Location

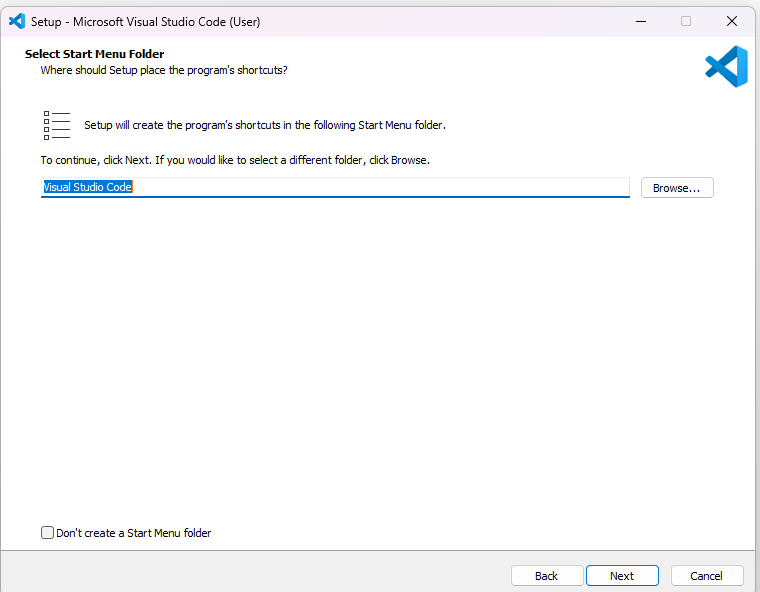
  5. Select a Start Menu Folder (or leave it as default). Start Menu

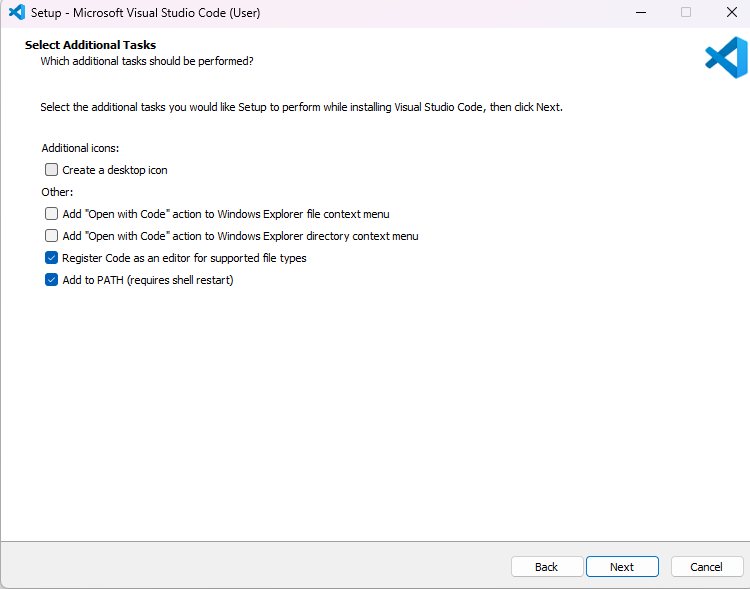
  6. Choose additional tasks. It is recommended to leave Add to PATH selected. Deselect or add other options if needed.
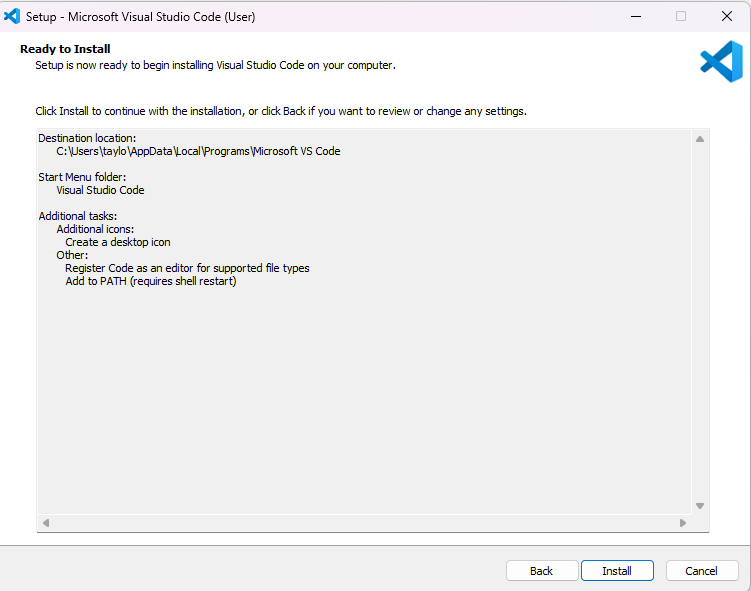
 Additional Tasks

  7. Click Install. Setup Ready

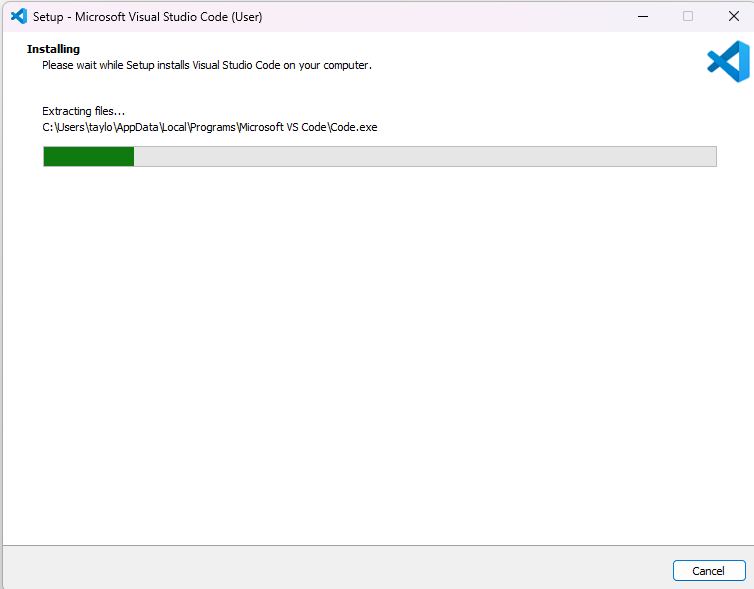
  8. Wait for the installation to complete. Installation

  9. Click Finish. Complete Setup

Congratulations — VS Code is now installed!

VS Code Interface Overview

Activity Bar

The vertical icon bar on the left. Quick access to:

  • Explorer – View and manage files
  • Search – Project-wide search/replace
  • Source Control – Connect to Git or other VCS
  • Run & Debug – Run and control scripts
  • Extensions – Install new tools and features

Activity Bar

Updates based on what’s selected in the Activity Bar.

  • Ex: In Explorer, it shows your folder structure and files. In Search, it displays search results. In Extensions, it lists installed and available extensions.

Side Bar

Editor Area

The central space where you write and edit code.

  • Supports tabs, split views and live previews

Editor Area

Status Bar

The bottom strip of the VS Code window. It shows live information, e.g. :

  • Git branch
  • Line/column numbers of your cursor
  • Language mode (e.g., JavaScript, Markdown)
  • Indentation settings
  • Live Server status (if active)

Status Bar

Command Palette (Ctrl+Shift+P)

Gives quick access to commands without using menus.

  • Type keywords like “format,” “theme,” or “terminal” to find relevant actions

Command Palette

Terminal (Ctrl+` )

Bult in terminal for running shell commands.

  • Works with PowerShell, Bash, Git Bash, or your preferred shell
  • Use it for npm install, git commit, or running scripts

Terminal

Problems Panel (Ctrl+Shift+M)

Lists syntax and linting errors with clickable navigation.

Problems Panel

Top 5 Must-Have Extensions for Beginners

1. Prettier

Auto-formats your code every time you save.

2. ESLint

Identifies errors and enforces coding standards (JavaScript/TypeScript).

3. Python

Adds IntelliSense, linting, and debugging for Python.

4. Live Server

Instantly reloads HTML/CSS/JS in the browser.

5. GitLens

Visual Git integration with history and inline blame.

How to Install Extensions

  1. Click the Extensions icon on the sidebar.
  2. Search for the extension name (e.g. Prettier).
  3. Click Install

Basic Configuration Tips

Enable Autosave

  1. Click File in the top menu.
  2. Click Autosave to toggle it on.

A checkmark next to Autosave means it is enabled.

Change Theme

  1. Press Ctrl + Shift + P to pull up the command palette.
  2. Type: Color Theme
  3. Hover to preview the list of themes.
  4. Hit Enter to select desired theme.

VS Code comes with several built-in themes. Install more from the Extensions tab by searching “theme.”

Change Font Size

  1. Click the gear icon (⚙️) in the bottom-left corner.
  2. Select Settings.
  3. In the search bar at the top, type: Font Size.
  4. Under Editor: Font Size, select the desired size.

FAQs

I installed VS Code, but I can’t find it. How do I open it?

  1. Click the Windows Start icon
  2. Type: Visual Studio Code in the search bar
  3. Hit Enter.

Do I need to install anything else with VS Code?

It depends on what you’re doing. You may need:

  • A language extension (e.g. Python, JavaScript).

  • A runtime (e.g. install Python from python.org if writing Python).

  • Git, if you want version control

How do I open a folder in VS Code?

Method 1

  1. Click File
  2. In the dropdown menu, click Open Folder

Method 2

  1. Drag a folder from your file explorer into the VS Code window.

How do I uninstall VS Code?

  1. Navigate to the Control Panel
  2. Under “Programs,” click Uninstall a program
  3. Select Visual Studio Code.

Additional Resources

Official VS Code Docs

Detailed documentation on everything from setup to GitHub Copilot.

Official VS Code YouTube Channel

Short, focused videos on real features.

Final Tips for New Users

  • Don’t install too many extensions at once. Stick to the essentials until you know what you need.

  • Use the integrated terminal. No need to juggle between VS Code and your system terminal.

  • Customize your setup slowly. Tweak your theme, font size, and keybindings as you get comfortable.


This guide was created as part of a technical writing portfolio project. All screenshots were taken as of June 2025.